
While diving into the world of Continuous Integration / Continuous Deployment I’ve come to realize that creating Virtual Machines by hand is not sustainable in the long run. This led me to read a lot regarding ways to automate the process of creating VMs so I can spend as little time as possible setting an environment for testing and/or learning.
For this reason I decided te create this post showcasing the way I’m making sure there is always an up image that I can use to spin VMs in a matter of seconds. I’ll be using my favorite Linux distro, Ubuntu, in its latest LTSC flavor as the basis for the templates.
Keep in mind that this process can be done with any Linux distro that provides a cloud image.
Without anything else to add, let’s start!
The basic steps we’ll follow are:
- Download and customize a Ubuntu cloud image
- Create and Customize the VM
- Convert to template
- Test it out!
- Automate template VM creation with CRON
1. Download and customize the Ubuntu cloud image
Most Linux distros provide a cloud image for template creations, and Ubuntu is not exception.
To download your preferred version, you can go to https://cloud-images.ubuntu.com/ and search for it. In this case, since the goal is to automate the process, we are going to download the Ubuntu 24.04 image from the terminal using wget:
wget "https://cloud-images.ubuntu.com/noble/current/noble-server-cloudimg-amd64.img" --output-document=noble-server-cloudimg-amd64.img
Before creating our template, we need to ensure the cloud image includes the QEMU Guest Agent so our VMs can interact better with Proxmox (like reporting the IP address to the host) and to do this we’ll use a tool called libguestfs which allows us to access and modify virtual machine images.
You can verify if you have it installed in your Proxmox host using the following command:
apt list --installed | grep libguestfs
which will output something like this:
root@pve01:~# apt list --installed | grep libguestfs

libguestfs-hfsplus/stable,now 1:1.48.6-2 amd64 [installed,automatic]
libguestfs-perl/stable,now 1:1.48.6-2 amd64 [installed,automatic]
libguestfs-reiserfs/stable,now 1:1.48.6-2 amd64 [installed,automatic]
libguestfs-tools/stable,now 1:1.48.6-2 amd64 [installed]
libguestfs-xfs/stable,now 1:1.48.6-2 amd64 [installed,automatic]
libguestfs0/stable,now 1:1.48.6-2 amd64 [installed,automatic]
If you don´t have it installed, you can get it with:
apt update -y && apt install libguestfs-tools -y
After this, we are going to inject the QEMU Guest Agent into the image with the virt-customize command:
virt-customize -a ./noble-server-cloudimg-amd64.img --install qemu-guest-agent --run-command "cat /dev/null > /etc/machine-id"
2. Create and Customize the VM
With our cloud image ready, now we can create a VM which will be our template. I’m using VM ID 999 which seems to be a popular number for this kind of things, but you can use any ID that you want.
qm create 999 \
    --memory 2048 \
    --name ubuntu-24.04\
    --net0 virtio,bridge=vmbr0 \
    --tags ubuntu,cloud-image \
    --watchdog model=i6300esb,action=reset
Then we are need to import the cloud image as a virtual disk into Proxmox. Note that my storage is called local-lvm but yours could be different:
qm importdisk 999 ./noble-server-cloudimg-amd64.img local-lvm
Now we attached the newly imported disk to our VM.
qm set 999 --scsihw virtio-scsi-pci --scsi0 local-lvm:vm-999-disk-0
The next portion is totally optional, but I recommend doing it. Basically we can store our public SSH keys on Launchpad which allow us to download and import them into our image using Cloud-init on the user we’ll create later so we can sign in without having to put in the password. If you don´t care about SSH login, feel free to skip this part:
wget https://launchpad.net/~<LaunchpadUsername>/+sshkeys -O ./keys
Add a Cloud-init CDROM for automatic user and password configuration:
qm set 999 --ide2 local-lvm:cloudinit
Let’s make sure the VM will use the previously imported disk to boot:
qm set 999 --boot c --bootdisk scsi0
And now let’s finish customizing our VM. We are going to create a linux-admin user with a secure password S3cur3P@ssw0rd, apply the SSH Keys to the Cloud-init drive and set some basic settings like the amount of cores, some tags, set the network to DHCP, make sure the VM starts after a reboot of the Proxmox host, and enable the QEMU guest Agent:
qm set 999 --ciuser linux-admin \
    --cipassword S3cur3P@ssw0rd \
    --cores 2 \
    --sshkeys ./keys \
    --description "Ubuntu 24.04 Image Template generated on `date`" \
    --ipconfig0 ip=dhcp \
    --onboot 1 \
    --ostype l26 \
    --agent 1 \
As a last step, we are going to setup a default disk size (This can be changed when deploying the VMs based on this image):
qm resize 999 scsi0 20G
3. Convert to template
Now we are ready to create the template using the following command:
qm template 999
4. Test it out!
After following all these steps, you should have your newly created template ready to use!

You should be able to log in into your sever without issues. Verify the ip address assigned via DHCP:
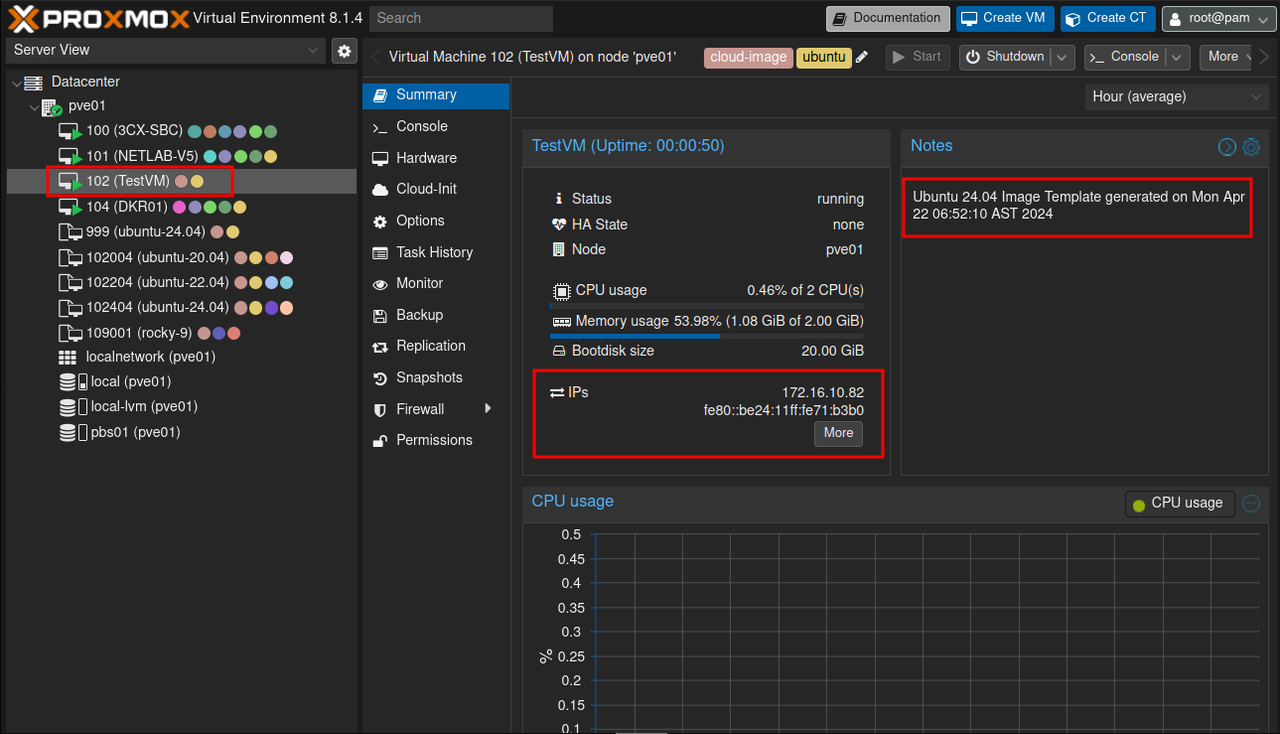
And now simply SSH into your server using the username and password that you assigned (linux-admin and Sup3rP@ssw0rd if you didn’t change anything). If you used Launchpad, then the password won’t be needed for login.
5. Automate template VM creation with CRON
If you are like me, you’ll be creating a lot of virtual machines for testing purposes and one of the things that I do is get the VMs up to date with apt update && apt upgrade -y but sometimes this process take a little longer than what I would like. Thankfully we can make an script (which you’ll find at the end) that can be run periodically using cron so our image is always up to date.
If you are doing this, don´t forget to delete the downloaded cloud image and your existing template so your script always pulls an up-to-date version of the image and creates a fresh template:
qm destroy 999 --purge
rm ./noble-server-cloudimg-amd64.img
Paste the content of the script in a file, make sure it’s executable and then create the cronjob like follows:
You can create and edit the file using nano:
nano build-ubuntu-template.sh
Paste the content of the script on the file and save using CTRL+S and then exit with CTRL+X.
Make your script executable:
chmod +x build-ubuntu-template.sh
Now open your crontab file:
nano /etc/crontab
And add a line at the end to call your script. In my case I’m running my script daily at 4:00 AM:
00 4 * * * root /root/build-ubuntu-cloud-image.sh
Save your changes using CTRL+S and then exit with CTRL+X.
Full script
#!/bin/bash

# Install libguestfs. Only needs to be done once
# apt update -y && apt install libguestfs-tools -y

# Purge current VM template
qm destroy 999 --purge

# Download Cloud Image
wget "https://cloud-images.ubuntu.com/noble/current/noble-server-cloudimg-amd64.img" --output-document=noble-server-cloudimg-amd64.img

# Install required Software
virt-customize -a ./noble-server-cloudimg-amd64.img --install qemu-guest-agent --run-command "cat /dev/null > /etc/machine-id"

# Create VM
qm create 999 \
    --memory 2048 \
    --name ubuntu-24.04\
    --net0 virtio,bridge=vmbr0 \
    --tags ubuntu,cloud-image \
    --watchdog model=i6300esb,action=reset

# Import Image as disk to Proxmox Storage
qm importdisk 999 ./noble-server-cloudimg-amd64.img local-lvm

# Add disk to VM
qm set 999 --scsihw virtio-scsi-pci --scsi0 local-lvm:vm-999-disk-0

# Retrieve SSH Keys from Launchpad
# wget https://launchpad.net/~<LaunchpadUsername>/+sshkeys -O ./keys

# Add Cloud Init CDROM
qm set 999 --ide2 local-lvm:cloudinit

# set Boot disk
qm set 999 --boot c --bootdisk scsi0

# Set VM Variables
qm set 999 --ciuser linux-admin \
    --cipassword Sup3rP@ssw0rd \
    --cores 2 \
    --sshkeys ./keys \
    --description "Ubuntu 24.04 Image Template generated on `date`" \
    --ipconfig0 ip=dhcp \
    --onboot 1 \
    --ostype l26 \
    --agent 1 \

# Resize boot disk
qm resize 999 scsi0 20G

# Convert VM to Template
qm template 999

# Delete the cloud image
rm ./noble-server-cloudimg-amd64.img
Final words
Even tho this script is really good as it is and can be used right away, there is still some room for improvements. This script sets the foundation for a better template management system that can be improved with the implementation of variables, validation of the files using checksums, error control and more; and can be customized to work with any Linux distro that provides a cloud image.
Maybe I’ll create another post in the future implementing those changes… maybe.
Thanks a lot for reading and I hope this was helpful to you!.